Jellyfin
Setting Up Jellyfin
Jellyfin is a free and open-source media server that allows you to organize, manage, and stream your media files.
1. Creating the LXC Container
- Create a new Debian Bookworm LXC container on your Proxmox VE host with the following specifications:
- CPU: 6 cores
- RAM: 8 GB
- Storage: 120 GB
2. Setting Up Storage
For the time being, we will use a single drive, outside of our Truenas storage. The endgame though, is to create a storage pool and use it in the same way that we set it up for Immich.
-
Mount the media drive on the Proxmox VE host:
- Add the following line to your
/etc/fstabfile to mount the drive on boot:
UUID=<your-drive-uuid> /mnt/jellyfin_data ext4 defaults,noatime 0 2- Reload the systemd daemon and mount the drive:
systemctl daemon-reload mount -a - Add the following line to your
-
Set the correct permissions for the media drive:
chown -R 100000:100000 /mnt/jellyfin_data
chmod -R 750 /mnt/jellyfin_data
[!warning] If jellyfin is not running as root (as it usually is running as the "jellyfin" user), you will need to
chmod 777instead of750or find the correct user id for the LXC's jellyfin user.
- Mount the media drive in the LXC container:
- Edit the LXC container's configuration file at
/etc/pve/lxc/<your-lxc-id>.confand add the following line:
- Edit the LXC container's configuration file at
mp0: /mnt/jellyfin_data,mp=/media
3. Configuring iGPU Passthrough
To enable hardware transcoding, you can pass through your Intel iGPU to the Jellyfin container.
- Get the iGPU information on the Proxmox VE host:
ls -l /dev/dri # Gives the iGPU card name
getent group render # Gives the render group's ID
- Add the iGPU to the LXC container:
- In the Proxmox VE web UI, navigate to the LXC container's Resources tab.
- Click Add > Device Passthrough.
- Set the Device Path to
/dev/dri/renderD128and the GID in CT to the GID of therendergroup.
4. Installing Jellyfin
-
Start the LXC container and log in to its shell.
-
Install Jellyfin:
- Follow the official Jellyfin documentation to install Jellyfin on Debian. The following commands should get you started:
apt update && apt upgrade -y
apt install -y curl gnupg apt-transport-https ca-certificates
curl https://repo.jellyfin.org/install-debuntu.sh | bash
- Set the correct permissions for the iGPU device:
chown root:render /dev/dri/renderD128
chmod 660 /dev/dri/renderD128
5. Configuring LDAP Authentication
-
Complete the initial Jellyfin setup:
- Access the Jellyfin web UI at
http://<your-lxc-ip>:8096and complete the initial setup wizard.
- Access the Jellyfin web UI at
-
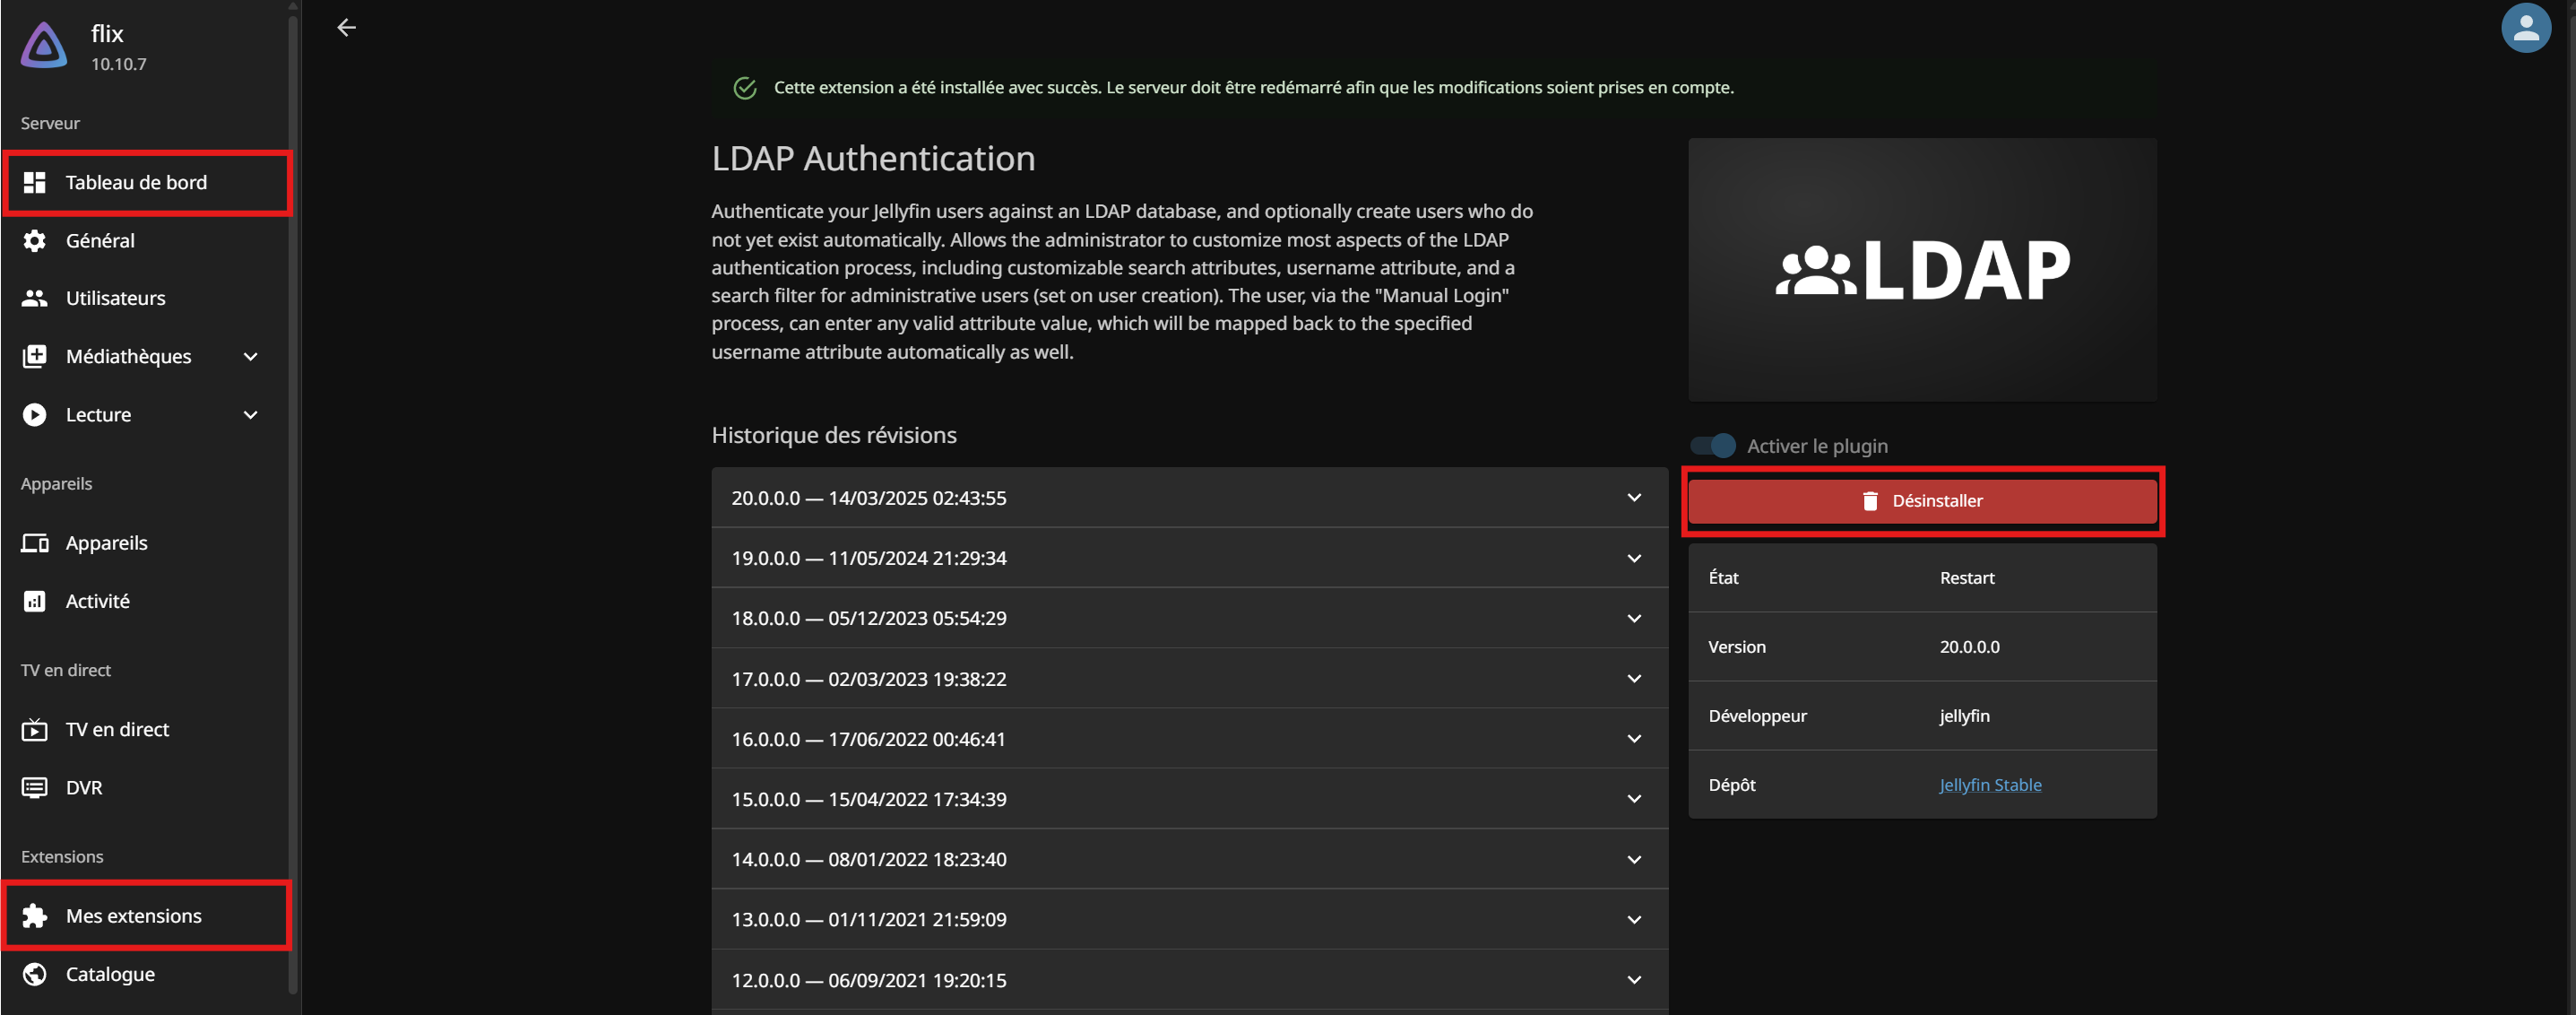
Install the LDAP plugin:
- Navigate to Dashboard > Plugins and install the LDAP-Auth plugin.
- Restart Jellyfin:
systemctl restart jellyfin.
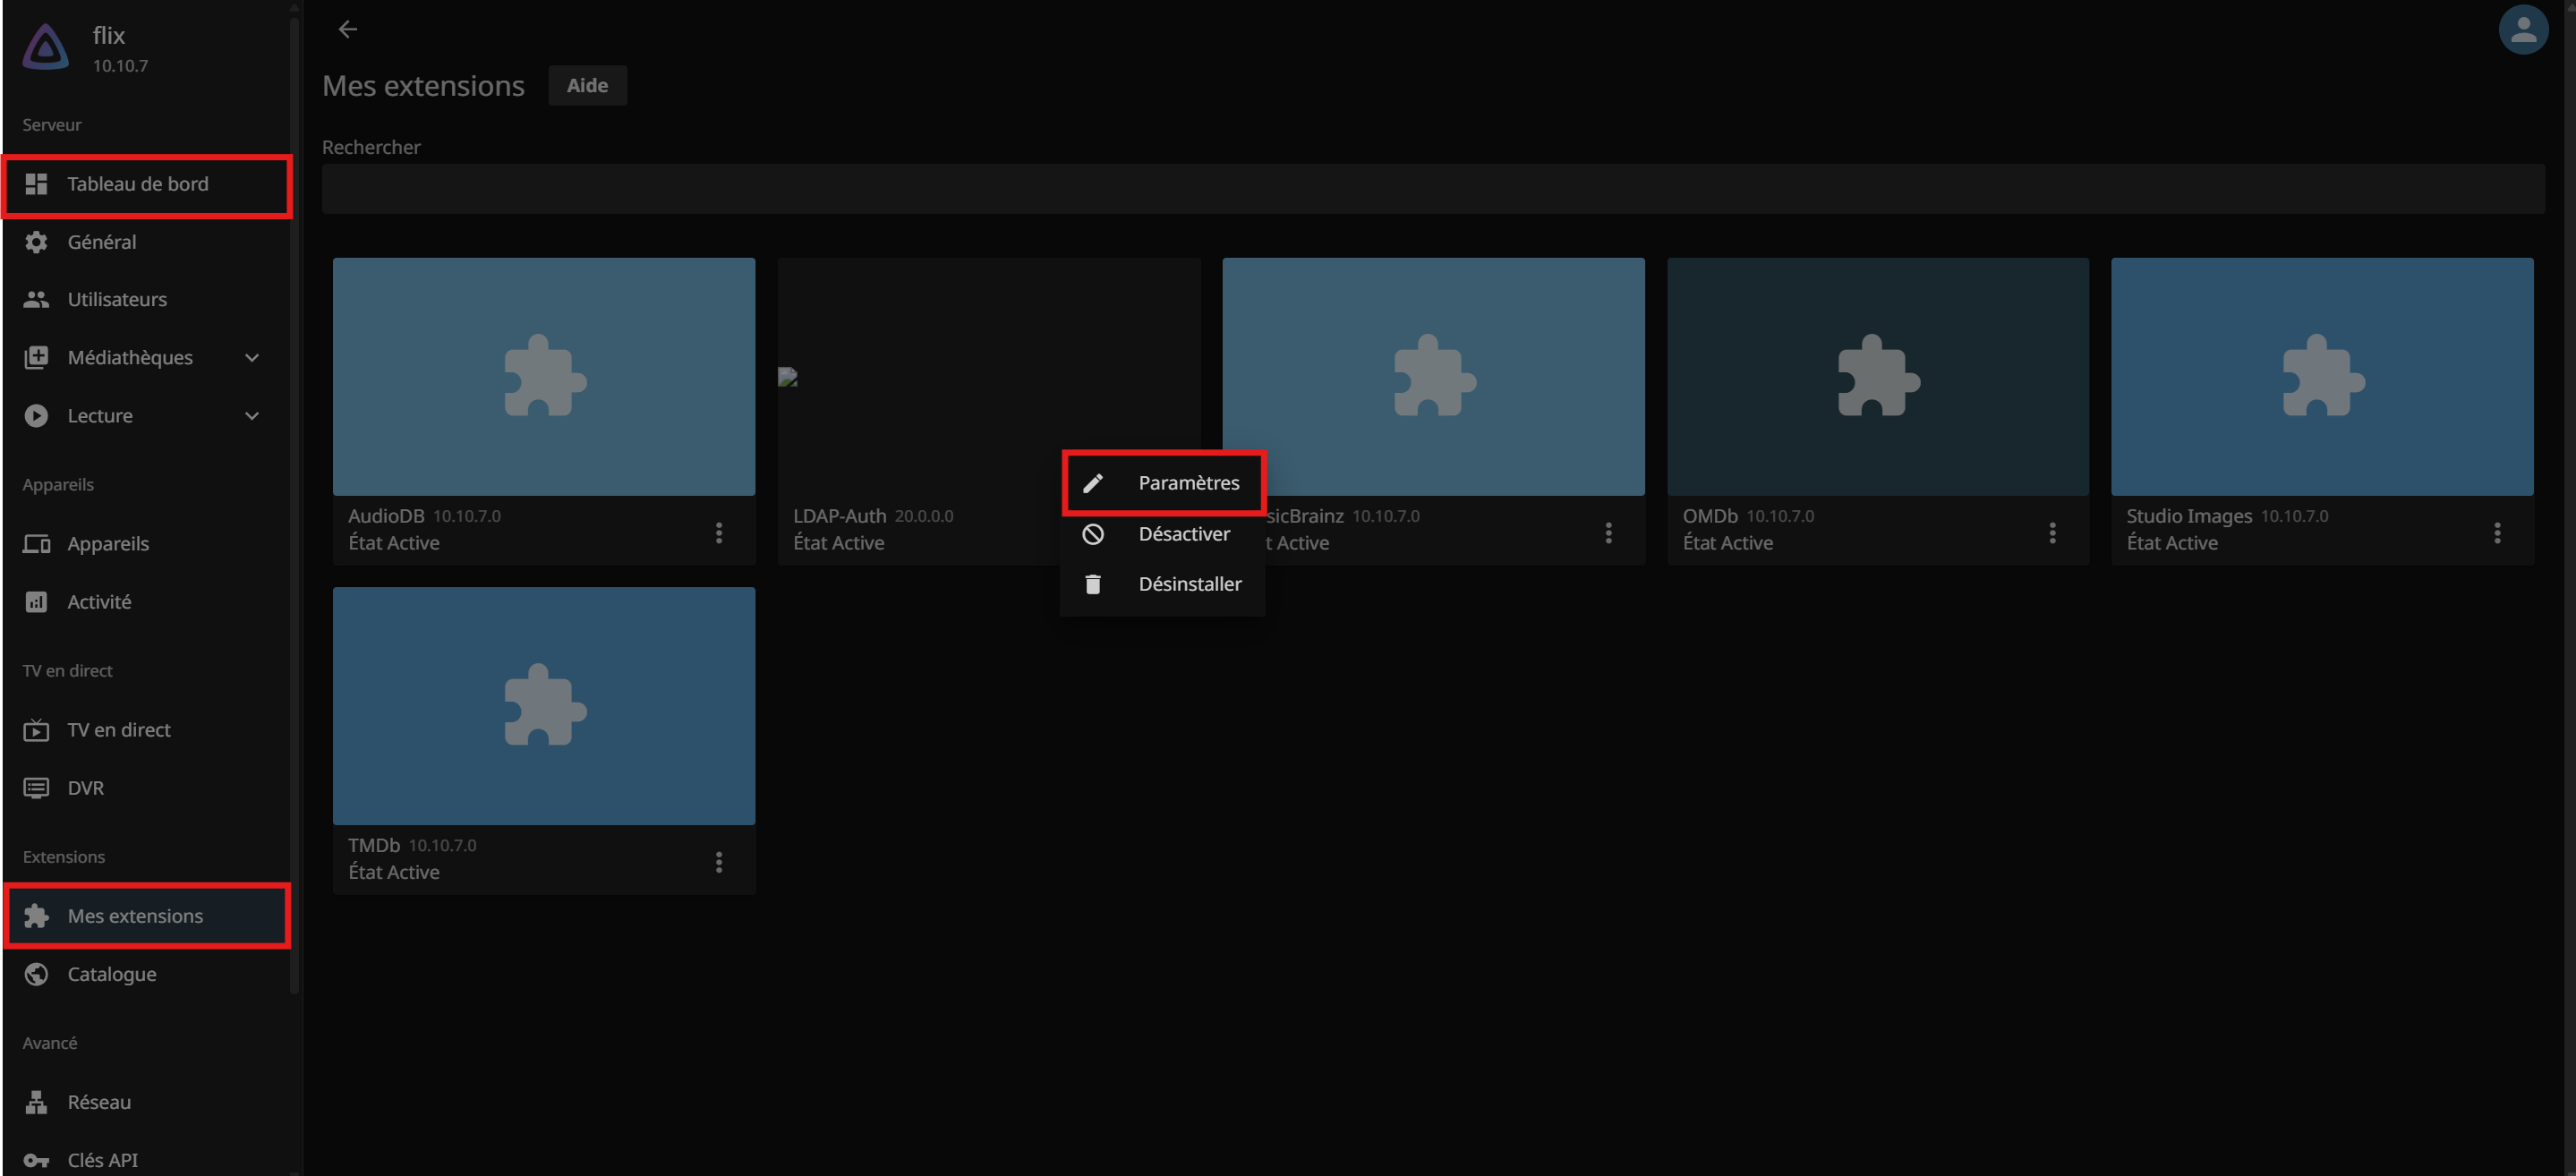
- Configure the LDAP plugin:
- Navigate to Dashboard > Plugins > LDAP-Auth.
- Fill in the following details:
- LDAP Server:
dc1.yourdomain.com - LDAP Port:
636 - Enable Secure LDAP: Checked
- LDAP Bind User:
CN=jellyfin,OU=ServiceAccounts,DC=yourdomain,DC=com - LDAP Bind Password:
your-jellyfin-password - LDAP Base DN for queries:
OU=Users,DC=yourdomain,DC=com - LDAP search filter:
(&(sAMAccountName={username})(memberOf=CN=JellyfinUsers,OU=Groups,DC=yourdomain,DC=com)) - LDAP Admin filter:
(&(sAMAccountName={username})(memberOf=CN=JellyfinAdmins,OU=Groups,DC=yourdomain,DC=com)) - LDAP Username attribute:
sAMAccountName
- LDAP Server:
[!NOTE] You will need to create a
jellyfinservice account andJellyfinUsersandJellyfinAdminsgroups in your Active Directory.
- Save the settings and test the LDAP connection.
Next Steps
With Jellyfin set up, you can now proceed to install Immich.
No comments to display
No comments to display