NGINX Proxy Manager
Setting Up NGINX Proxy Manager
NGINX Proxy Manager is a reverse proxy management system that allows you to easily forward traffic to your backend services. It provides a simple web interface for creating and managing proxy hosts, and it can also handle SSL certificate creation and renewal.
1. Creating the LXC Container
[!IMPORTANT] At the time of writing, there is a flow in Proxmox's support for Debian Trixie containers. We can fix this, by editing the line n° 39 in
/usr/share/perl5/PVE/LXC/Setup/Debian.pmand replacedie "unsupported debian version '$version'\n" if !($version >= 4 && $version <= 13);bydie "unsupported debian version '$version'\n" if !($version >= 4 && $version <= 14);You will need to restart your PVE for the changes to take effect.
[!WARNING] I found Debian Trixie LXCs to be unreliable at the time of writing. They were sometimes not able to reach the internet.
-
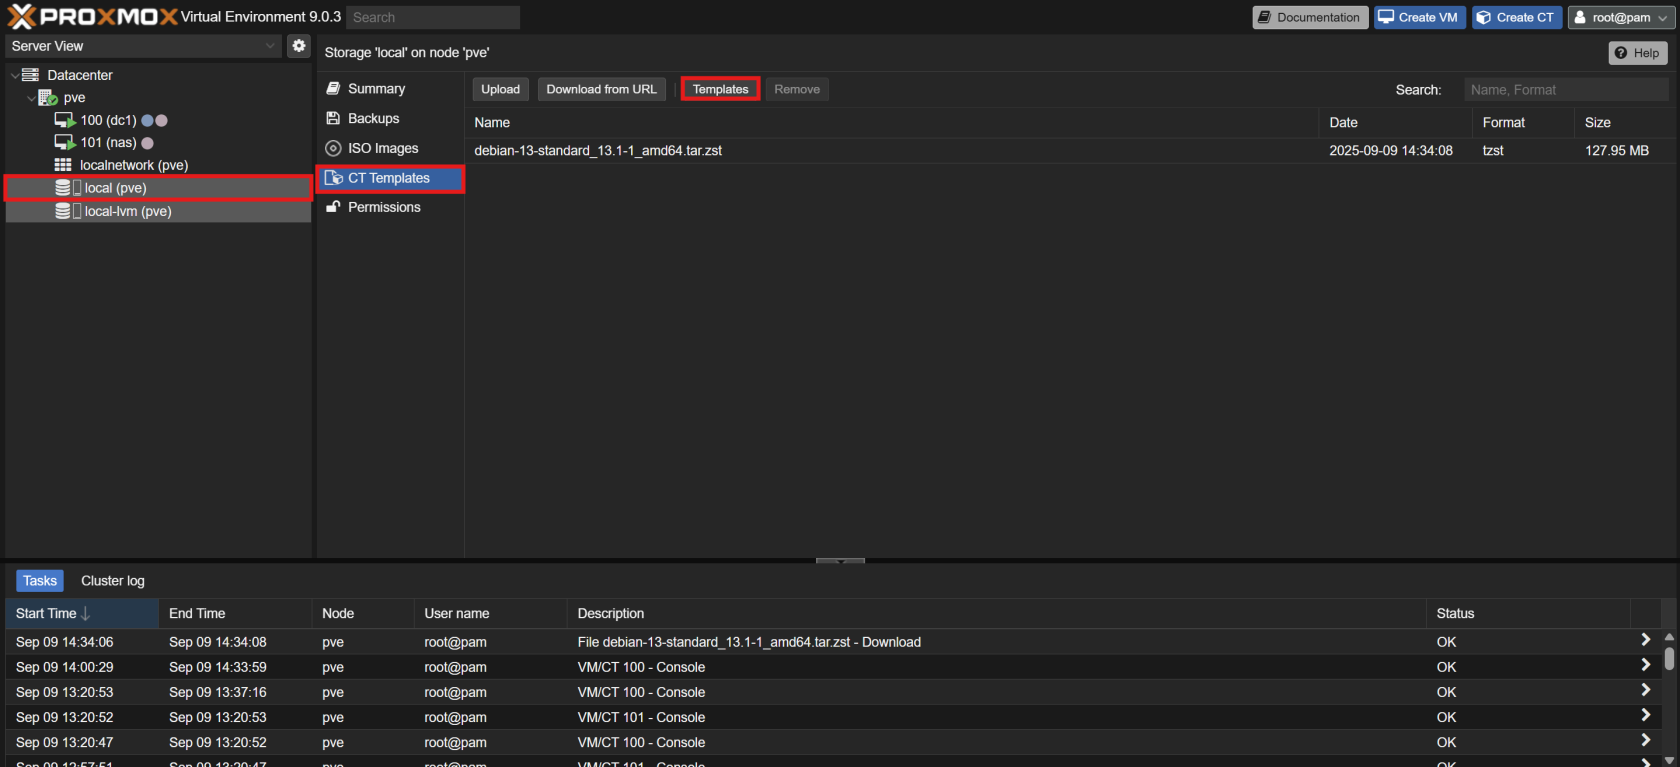
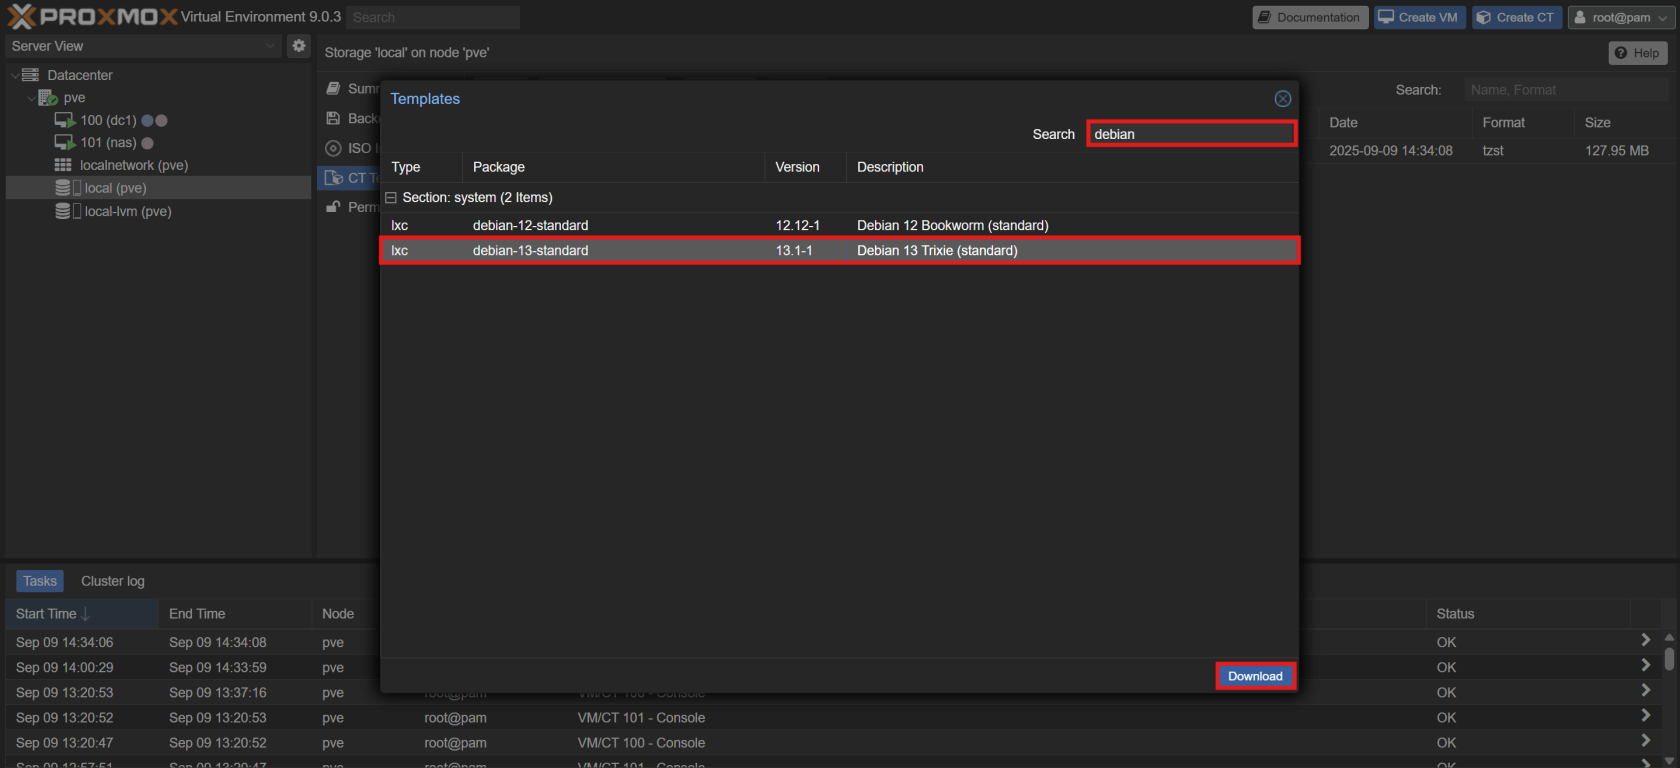
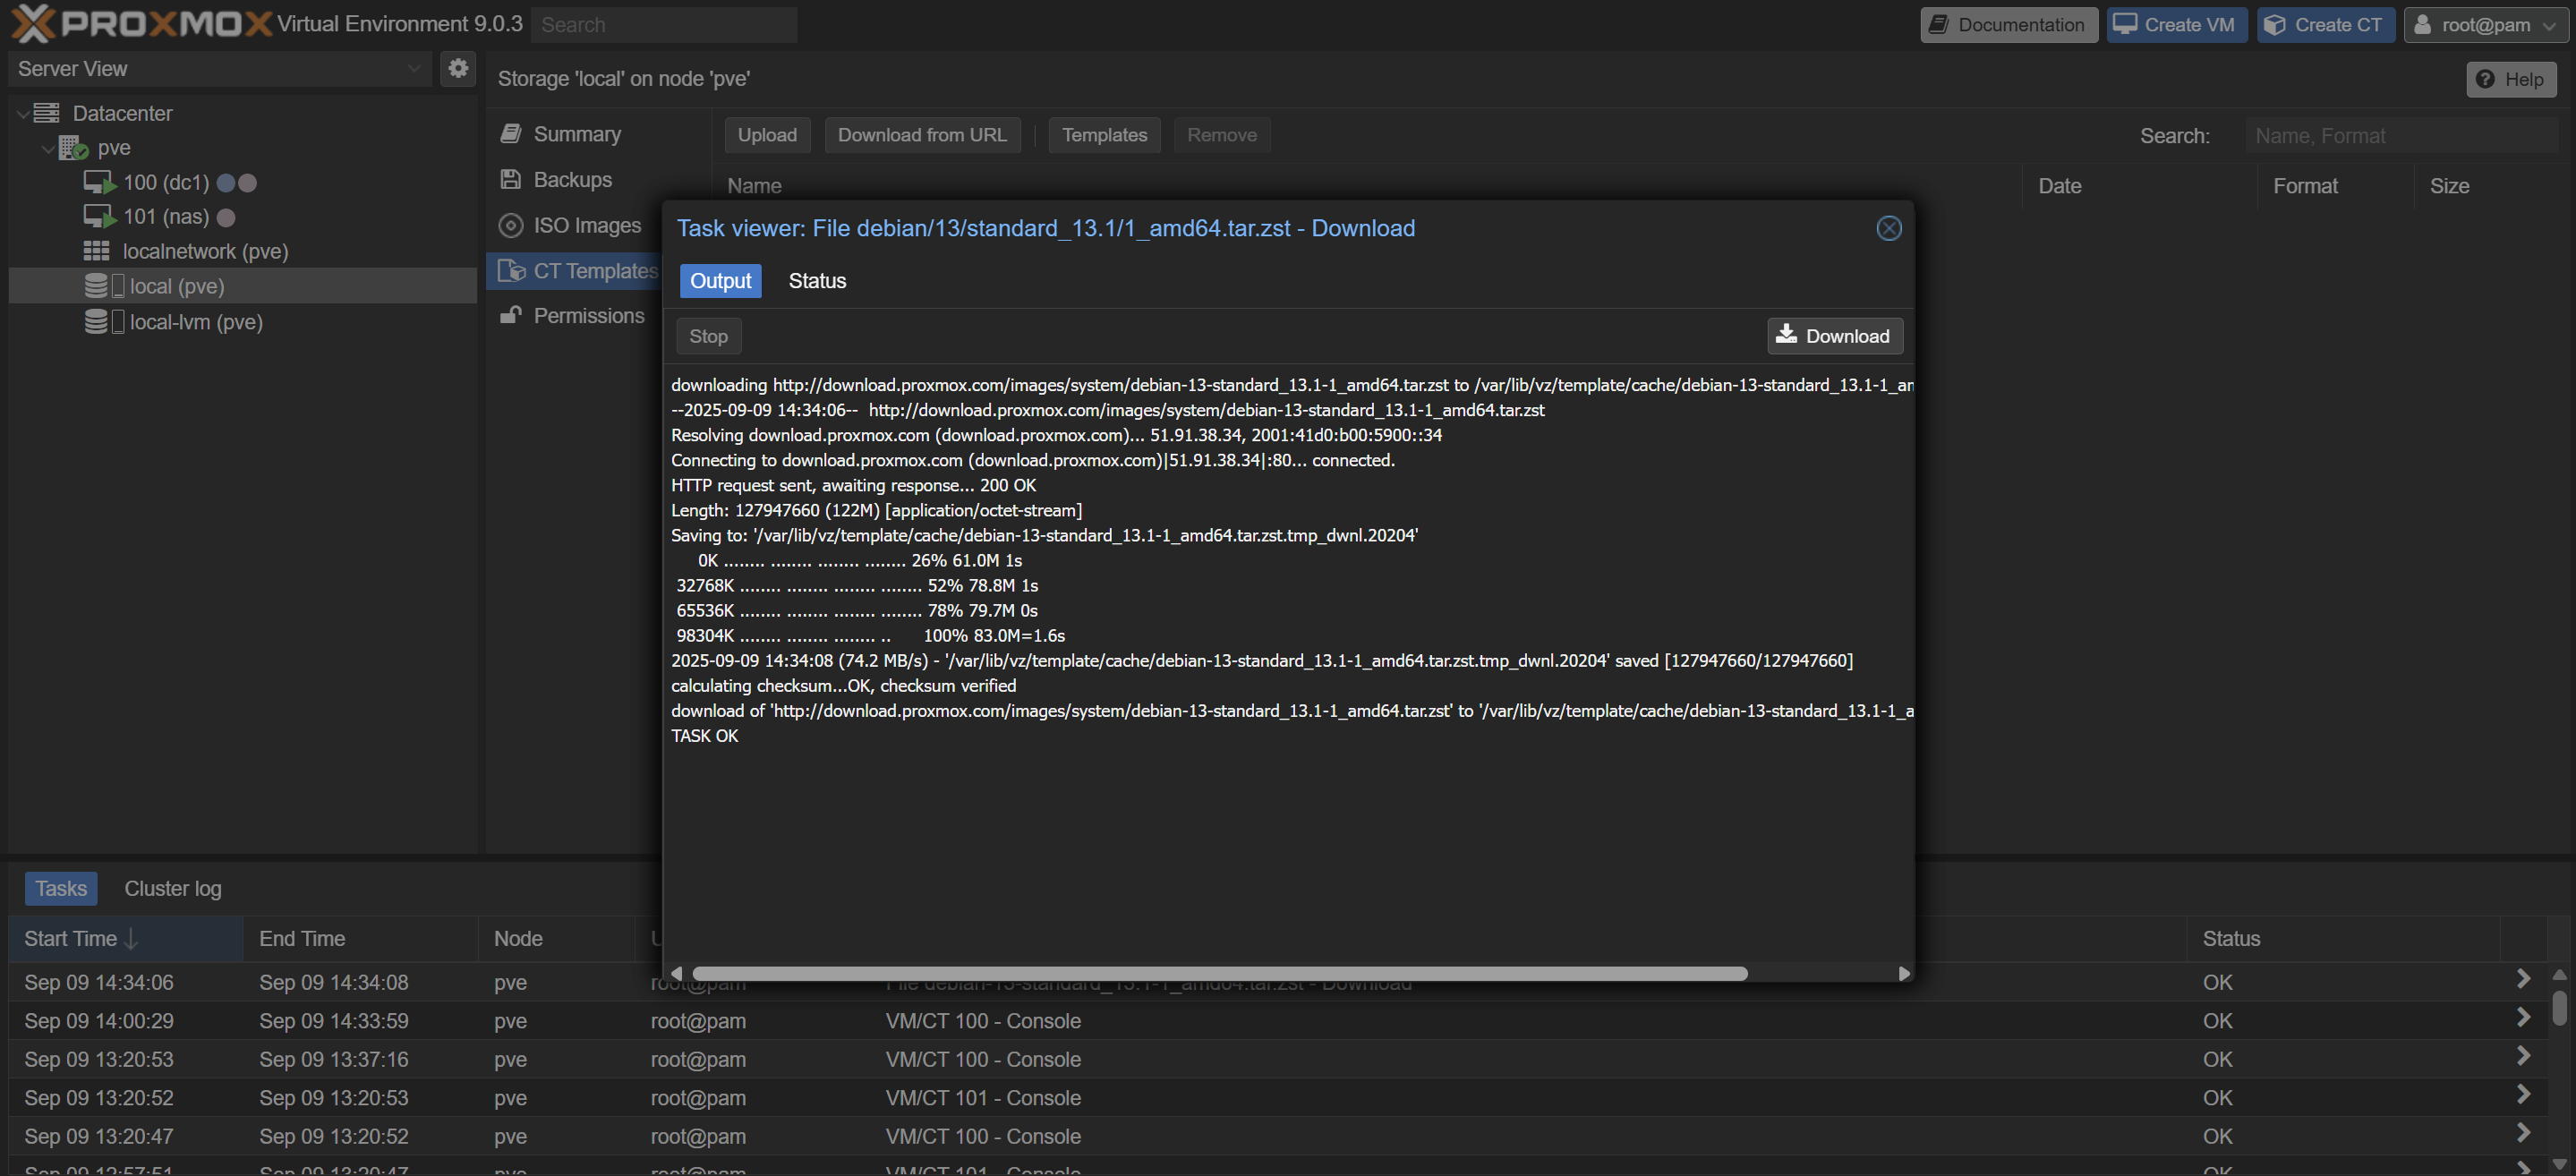
Download a Debian Template:
- In the Proxmox VE web UI, download a stable Debian template (e.g., Debian Bookworm).

-
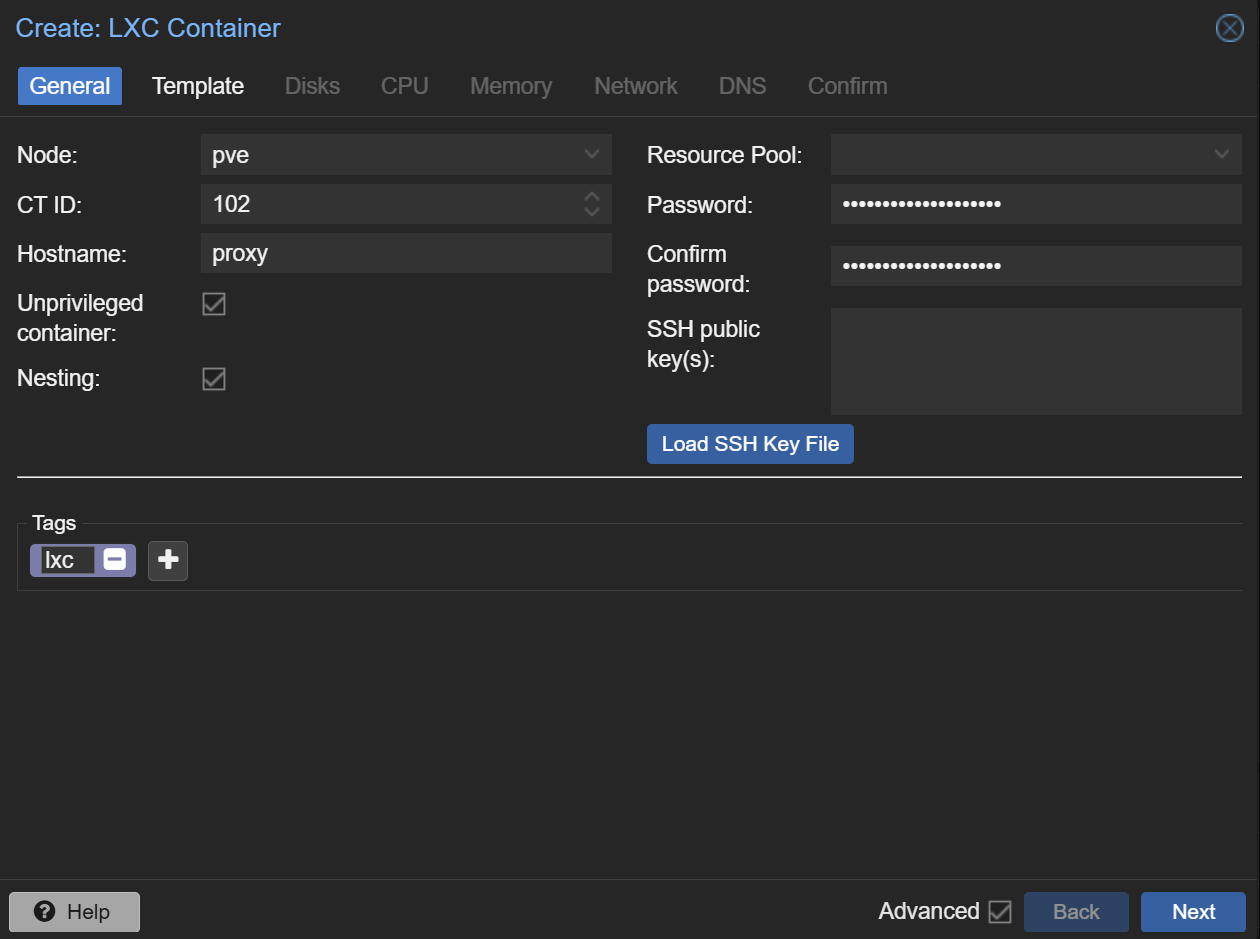
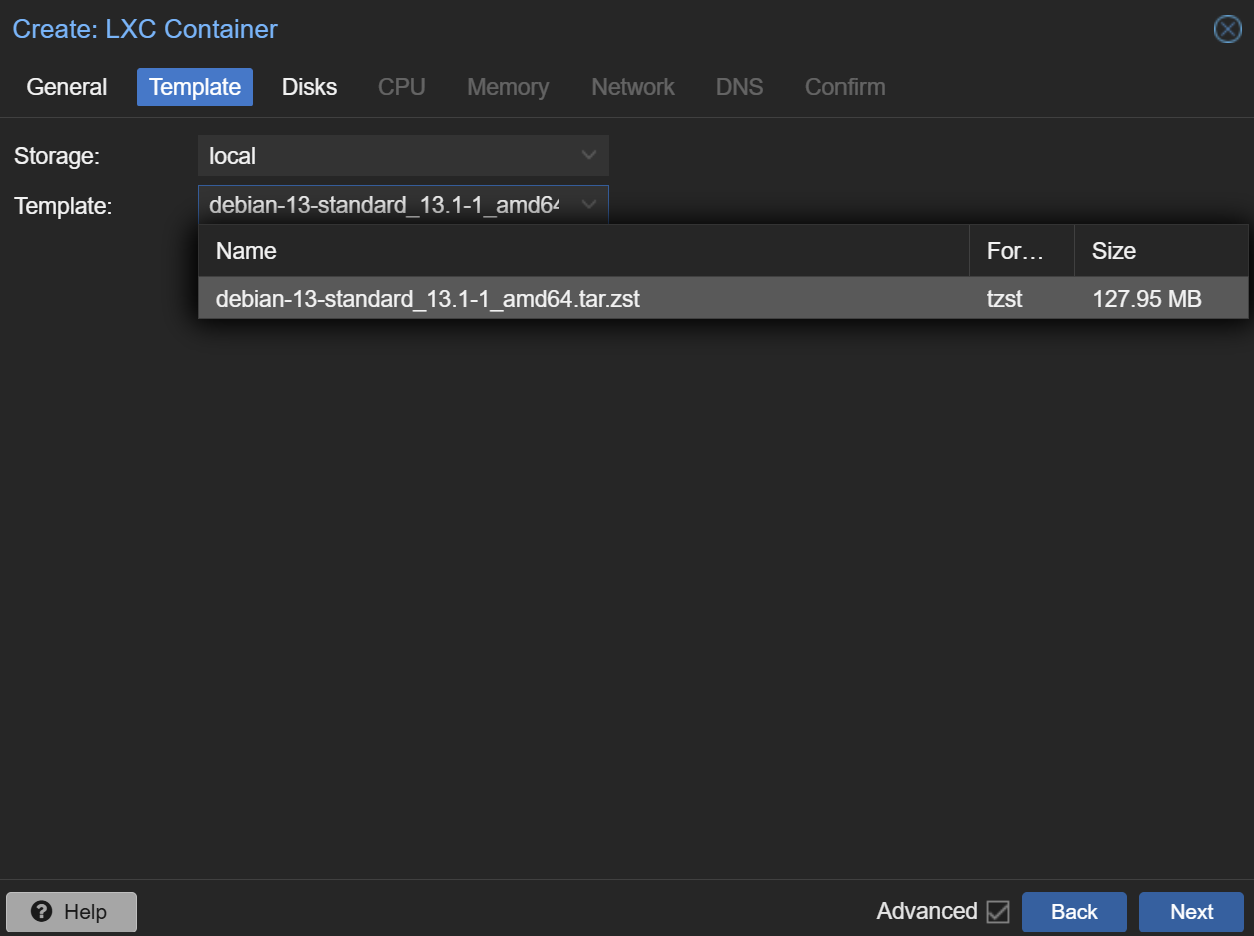
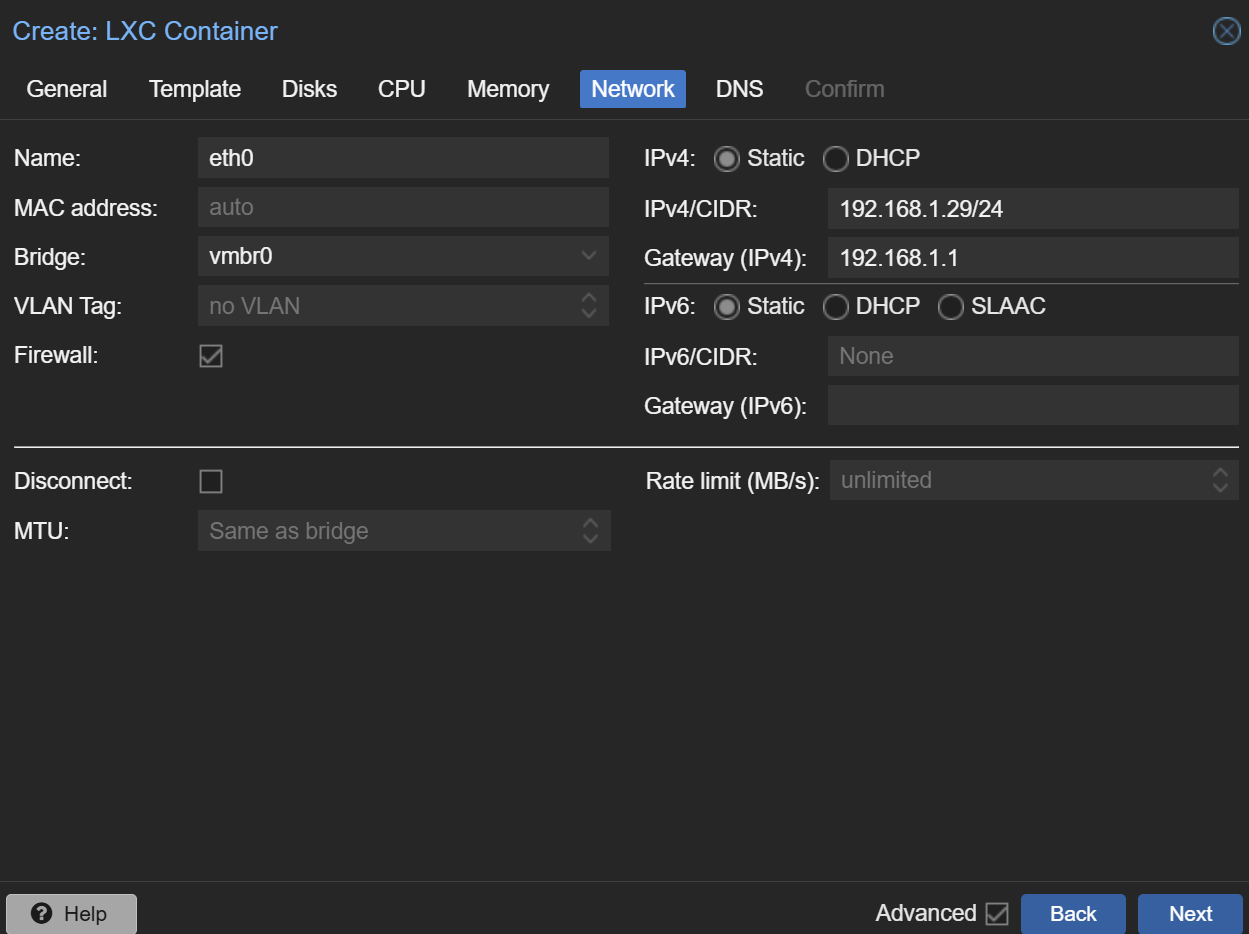
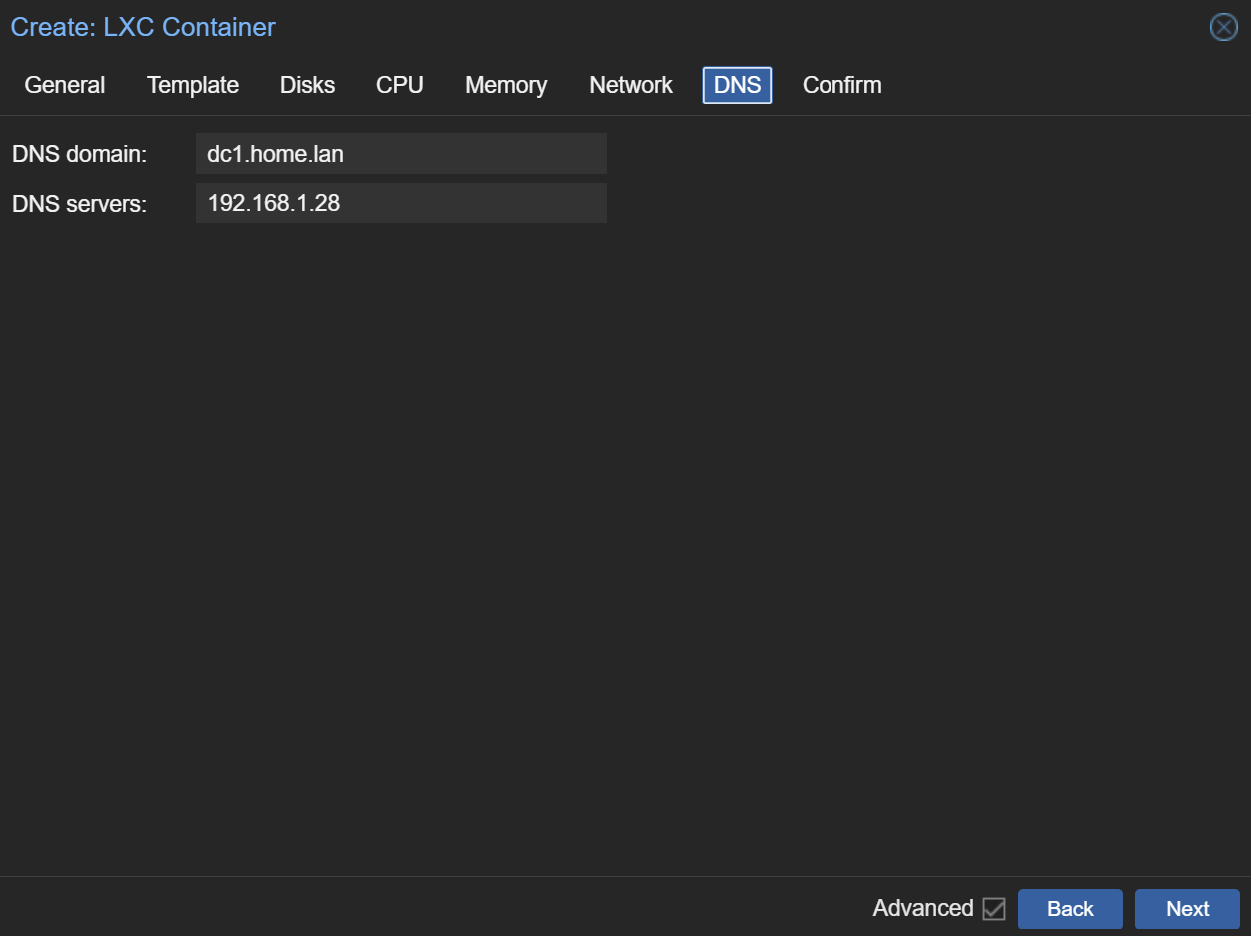
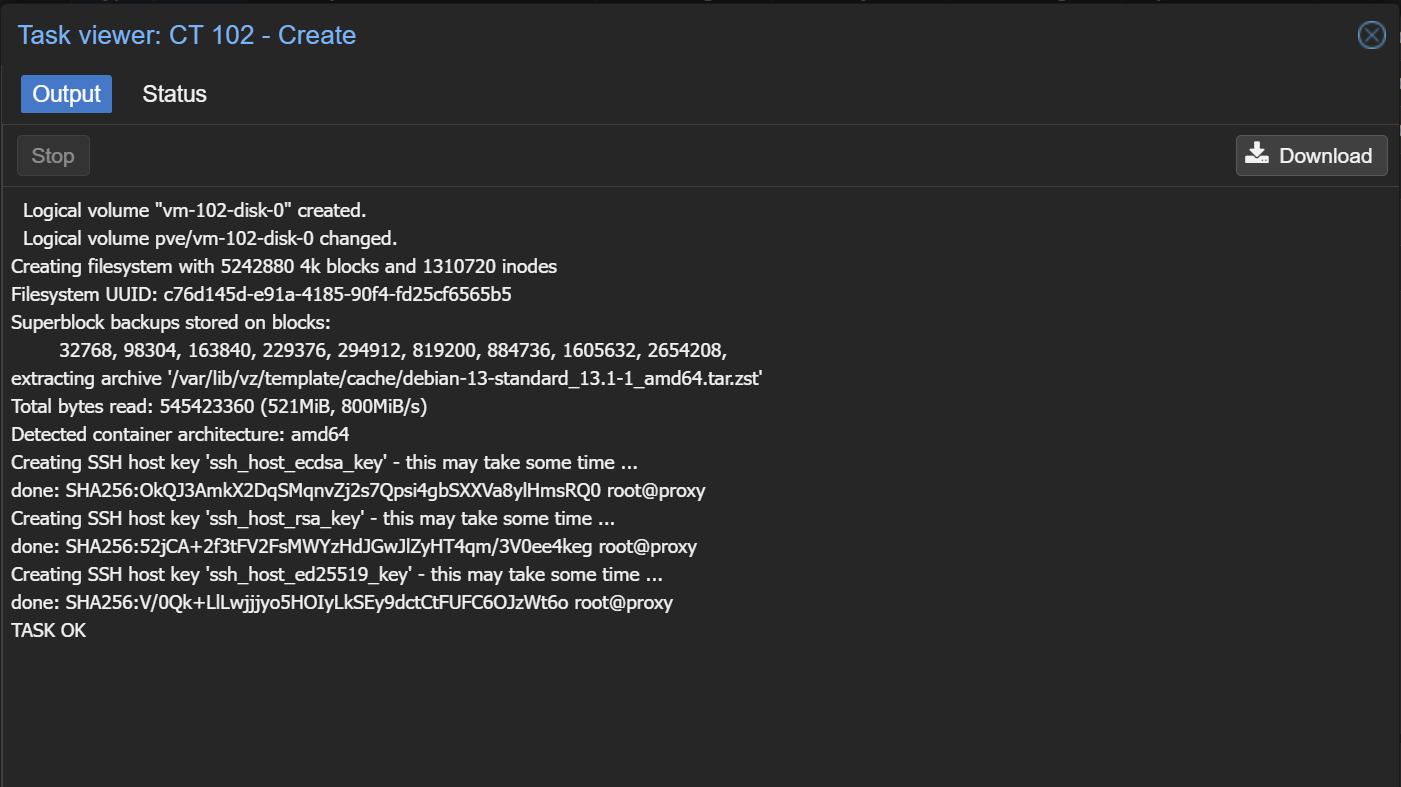
Create a new LXC container with the following specifications:
- Template: The Debian template you just downloaded.
- CPU: 2 cores
- RAM: 1 GB
- Storage: 8 GB


2. Installing Docker
-
Log in to the LXC container's shell.
-
Install Docker Engine:
- Follow the official Docker documentation to install Docker Engine on Debian. The following commands should get you started:
# Add Docker's official GPG key: install -m 0755 -d /etc/apt/keyrings wget -qO /etc/apt/keyrings/docker.asc https://download.docker.com/linux/debian/gpg # Add the repository to Apt sources: echo \ "deb [arch=$(dpkg --print-architecture) signed-by=/etc/apt/keyrings/docker.asc] https://download.docker.com/linux/debian \ $(. /etc/os-release && echo "$VERSION_CODENAME") stable" | \ tee /etc/apt/sources.list.d/docker.list > /dev/null apt update apt install docker-ce docker-ce-cli containerd.io docker-buildx-plugin docker-compose-plugin -
Verify the Docker installation:
docker run hello-world
3. Setting Up NGINX Proxy Manager
-
Create the necessary directories:
mkdir -p ~/nginx-proxy-manager cd ~/nginx-proxy-manager mkdir -p data/snippets letsencrypt -
Create a
docker-compose.ymlfile with the following content:networks: proxy_net: driver: bridge services: # NGINX Proxy Manager npm: container_name: nginx-proxy-manager image: jc21/nginx-proxy-manager:latest restart: unless-stopped networks: - proxy_net ports: - "80:80" # HTTP - "81:81" # NPM Admin UI - "443:443" # HTTPS volumes: - ./data:/data - ./letsencrypt:/etc/letsencrypt - ./data/snippets:/snippets environment: TZ: "Europe/Paris" -
Start the NGINX Proxy Manager container:
docker compose up -d
4. Configuring SSL Certificates
-
Log in to the NGINX Proxy Manager web UI:
- Navigate to
http://<your-lxc-ip>:81. - Log in with the default credentials:
- Email:
admin@example.com - Password:
changeme
- Email:
- Navigate to
-
Add a new SSL certificate:
- Navigate to SSL Certificates > Add SSL Certificate > Let's Encrypt.
- Fill in the following details:
- Domain Names:
yourdomain.com,*.yourdomain.com - Email Address:
your-email@example.com - Use a DNS Challenge: Checked
- DNS Provider: Your DNS provider (e.g., Cloudflare, GoDaddy, etc.)
- Credentials: Your DNS provider's API credentials.
- Agree to the Let's Encrypt Terms of Service.
- Domain Names:

-
Save the certificate.

[!IMPORTANT] When you configure your proxy hosts, remember to enable Websockets Support for services that require it (e.g., TrueNAS).
Next Steps
Now that NGINX Proxy Manager is set up, you can proceed to configure Authelia for single sign-on.
No comments to display
No comments to display